Gravel Driveway Construction Guide
A number of processes are involved during a gravel driveway construction. Break it down layer-by-layer and you begin to realise why this is such a time-consuming task.
We might specialise in driveway construction at Mainland Aggregates but our years of experience have taught us never to be complacent about the projects we undertake. Or the level of work that’s required!
If you are contemplating constructing a new driveway or simply want to know what it takes to complete this type of work we aim to show you how complex this can be. Learn all about driveway construction reading this simple-to-follow guide, it tells you all there is to know and by the time you get to the bottom of the page you should become a bit of an expert on the subject. This guide is also available in video format here: Gravel Driveway Construction Guide
**WARNING**
Before undertaking any excavation work you must ensure you know exactly where all buried services are located. Any services within the dig area need to be located by hand to ascertain their exact position and depth to ensure the proposed works are not going to interfere. Usually buried services will have warning tape buried just above them to warn you when you are getting close but this is not always the case especially with older properties. Typical services to watch out for are Water, Gas, Electricity, Drainage, Telephone and Sewerage. If you are unsure you must seek professional advice.
Here are the steps involved:
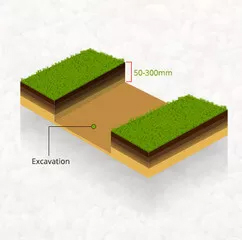
Excavation
Unfortunately it is very rare that a gravel driveway construction will require no excavation. At the very least the topsoil should be removed as its load bearing ability is poor and the heavy concentration of decomposed organic material makes topsoil particularly prone to retaining water. The depth of topsoil that needs to be removed depends entirely on your area and can vary anything from 50-300mm in depth. Once the topsoil is removed you should have an exposed layer of firm subsoil. Any further digging required will be governed by the desired finished level and will vary from site to site. Any soft areas that remain after topsoil is removed need to be excavated and then filled with compacted sub-base material before the membrane is laid.
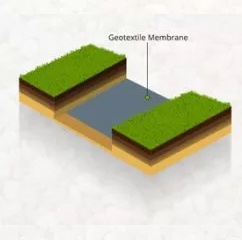
Geotextile Membrane
It is a common misconception that geotextile membranes are placed between the sub-base layer (Type 1 or Type 3) and the finished surface (Gravel) which is not the case. The membrane should be placed between the excavated ground and the sub-base.
The presence of a membrane ensures the sub-base material does not mix with ground below while still allowing the passage of water and is essential where ground conditions are poor. Generally our G90 Woven Membrane is used for the majority of applications. Please see our range of Geotextile Membranes here

Laying The Sub-Base
The sub-base is the most important part of any driveway construction. The sub-base provides the load bearing ability of the driveway by helping to spread the weight of traffic from above whilst also creating a solid layer resistant to rutting and channelisation. The depth of the sub-base will depend on the size of vehicles using the drive with a typical domestic construction requiring a minimum depth of 100mm but preferably 150mm to be able to take cars.
The most common sub-base material is DT Type 1 (MOT) which consists of crushed rock graded from 40mm down to dust. The range of sizes ensure the material interlocks when compacted whilst still remaining permeable to water. Increasingly a product known as DT Type 3 is being used which is very similar to Type 1 but contains a lower fines content and is more permeable to water. The use of Type 3 complies with Sustainable Urban Drainage Scheme (SUDS) protocol which is increasingly becoming the norm in the UK as flooding issues become more prevalent. All sub-bases should be installed in thin layers and compacted with a vibrating roller or whacker plate to ensure full compaction throughout the sub-base layer. Please see our range of Sub Base Aggregates here
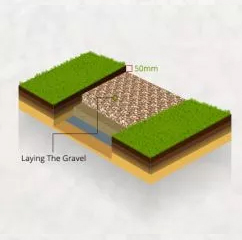
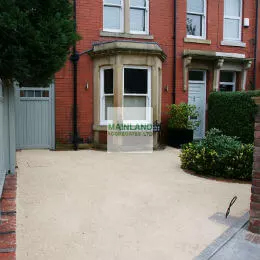
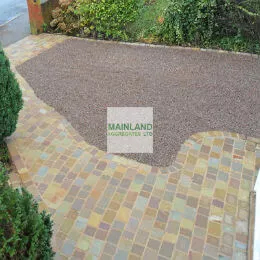
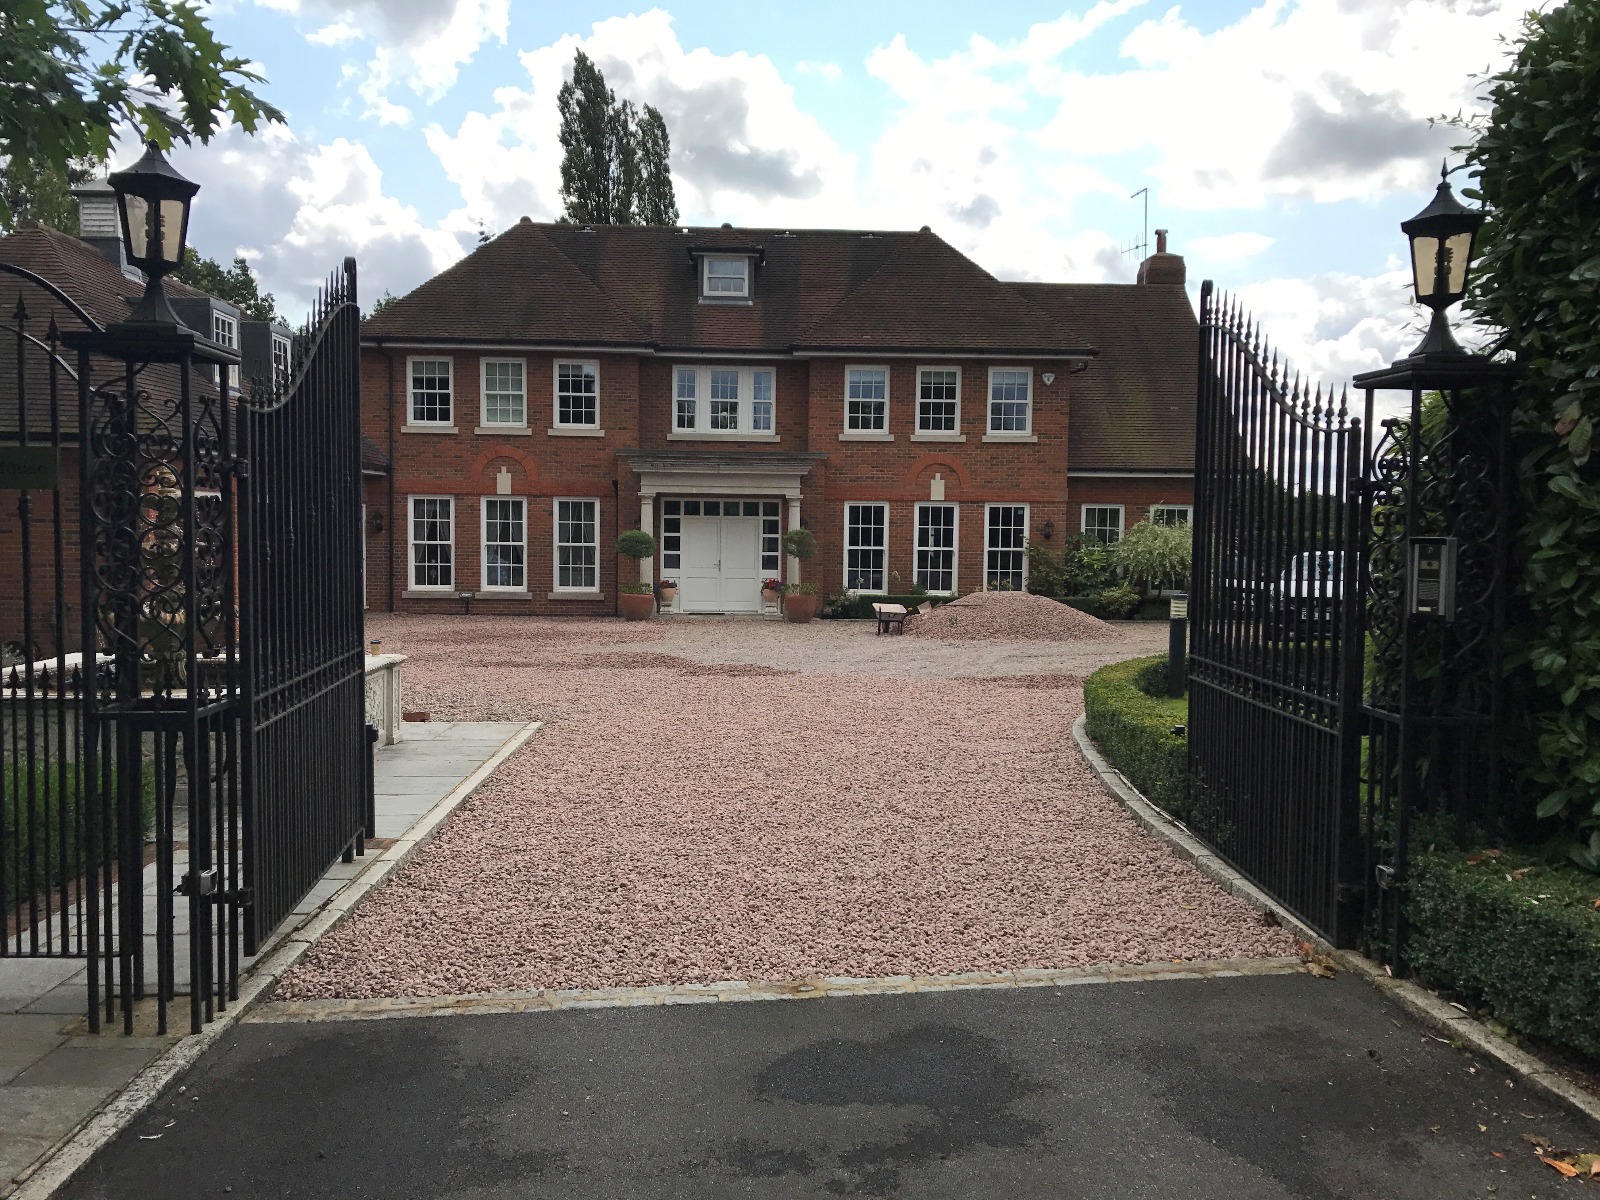
Laying The Gravel
Now the easy bit, the finished surface. The biggest mistake made by DIYers is laying the gravel too deep. The gravel performs no other purpose than to provide a decorative finish to the driveway. Laying the gravel too deep not only costs more and takes longer but has no benefit to the performance of the finished driveway. If you want to go deep make sure it's with the sub-base! It is recommended that a maximum depth of 50mm be applied as this provides good coverage of the sub-base whilst remaining shallow enough to prevent rutting.
The gravel/shingle used on the driveway should be 20mm in size. Smaller sizes such as 10mm and 6mm should not be used for driveways as the smaller particles get stuck in car tyres and also provide a handy toilet for neighbourhood moggies! With the exception of Welsh Slate which is very flat, larger gravels should be avoided as they can be difficult to walk on. Please see our range of Driveway Gravels here
The gravel is simply laid directly on top of the sub-base and levelled with rakes and shovels 'et voila' it's done! This guide is also available in video format here: Gravel Driveway Construction Guide