The Ultimate Guide to Garden Paving Cleaning and Maintenance
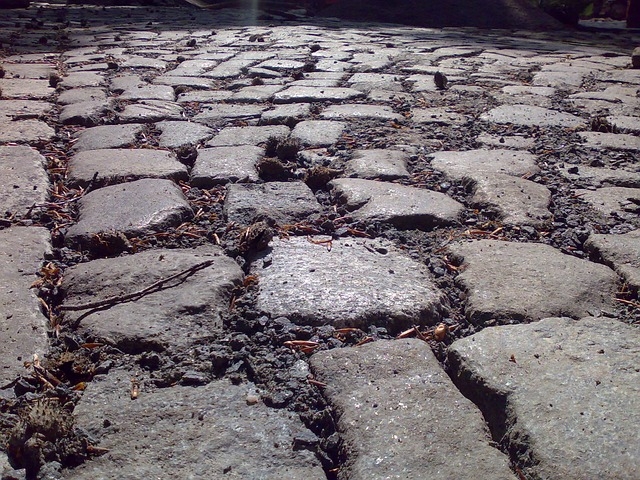
All types of paving need maintenance in order to preserve their looks and qualities. Cleaning the garden paving on a regular basis may sound daunting but is, in fact, simple to carry out. Once you know the ABCs of basic maintenance, you can rejuvenate your garden paving by yourself.
There are a plethora of cleaning products on the market that promise to make your paving look like new again by eliminating growths and stains. However, the golden rule when it comes to maintaining your garden paving in its top shape is regular maintenance.
This guide is meant to help you understand the requirements of paving cleaning and maintenance. It will walk you through general advice on dealing with dirt, debris and weeds and it will teach you how to tackle stains and organic growth.

The Ultimate Guide to Garden Paving, Cleaning and Maintenance
All types of paving need maintenance in order to preserve their looks and qualities. Cleaning the garden paving on a regular basis may sound daunting but is, in fact, simple to carry out. Once you know the ABCs of basic maintenance, you can rejuvenate your garden paving by yourself.
There are a plethora of cleaning products on the market that promise to make your paving look like new again by eliminating growths and stains. However, the golden rule when it comes to maintaining your garden paving in its top shape is regular maintenance.
This guide is meant to help you understand the requirements of paving cleaning and maintenance. It will walk you through general advice on dealing with dirt, debris and weeds and it will teach you how to tackle stains and organic growth.
I. Health & Safety
While paving maintenance can be performed by anyone, it’s important to take a few steps to ensure your safety. You should always pay attention to the safety warnings of the products you are using and follow the instructions.
Before you set out and clean the entire paving, always test out the chemical on a small area. This will help you establish if the product can be safely used without damaging the pavement.
Remember to take these precautions before, during and after cleaning your garden paving:
- Wear gloves, boots, overalls and goggles whenever you use chemicals.
- Ensure proper ventilation when you use chemicals in small spaces.
- Control cigarettes when using flammable products.
- Add acid to water when diluting acid, not the other way around.
- Dispose of all clothes that have been contaminated with chemicals.
- Protect other finishes, materials, decorative pebbles or furniture from damage when using chemicals around them.
- Keep children, pets and people away from the area that is being cleaned to avoid injuries.
II. General Advice
When the garden paving is neglected for a long time, dirt, debris and weeds are bound to appear and spoil the beauty of your outdoor space. Here are some general tips that will show you how to tackle various issues and demonstrate cleaning techniques.
1. Removing Dirt & Debris
The best way to clean your garden paving from dirt is to use a brush, warm water and soap. If you can’t see the colour of the paving anymore, using a scrubbing bristle brush or a jet wash cleaner.
The recommended products to use are a soap-based acid-free cleaner or a washing-up liquid. Start by adding soapy water onto the paving and follow up immediately with brushing.
Use clean water to wash off any loosened dirt. All the soap must be washed away from the paving surface. Dispose of the dirty water by channelling it towards drainage points.
If you are employing a power hose, ensure you don’t remove any sand or mortar that make up the jointing material. Each power cleaning session should be followed up by a close inspection of the joints and any missing material should be replaced accordingly.
2. Keeping Weeds under Control
There is no solution to keep your garden paving completely weed-free. As soon as detritus (debris, loose fragments or grains) accumulates in joints, weeds will start germinating.
The easiest way to get rid of weeds is to pull them out with your hands or scrape them off with a hoe. After removing the weeds from the joints, never leave these empty or partially filled. Replace the sand as soon as the surface is dry and clean again.
Weeds have a harder time to emerge on surfaces that are heavily trafficked. However, areas where there is little to no traffic are prone to develop weeds time and time again. Use these strategies to keep them at bay:
- Brush the area regularly in order to disturb new weeds.
- Use weed killers carefully, always following the manufacturer’s instructions. These can keep the area weed-free for a few months.

3. Using Power Washing
Used excessively, power washing can do more harm than good to your garden paving. However, when it’s used in the right way, it properly cleans the surface, leaving it looking brand new. Power washing can effectively remove the algae and moss that thrive on paving. Using a weed killer fluid can postpone their reappearance for a few weeks.
Factor in these suggestions when you set out to power wash your garden paving:
- Move away vulnerable items such as furniture and protect or cover decorative gravel.
- Sweep the surface to remove loose materials.
- Use a low-pressure and gradually adjust it only if necessary. Higher pressure cleaning can irrevocably distress the paving.
- Direct the power lance at a shallow angle, never parallel to the joints.
- Use a spraying movement and don’t point the tool straight down onto the paving.
- Test out your jet machine on a small area before cleaning your entire garden. Some tools are powerful enough to deteriorate the paving.
- Inspect the test’s results before deciding whether to proceed with the power washing or not. The joints should be full.
4. Using Acid Washing
Unrelenting stains that won’t fade away by themselves or with a simple soap and brush washing need to be removed using an acid treatment.
Before you start the cleaning process you must know what type of paving you are dealing with. Cast concrete will be less resistant while slates, quartzite, basalts and granites are not affected. Pennant stones and sandstones can react very differently. While some won’t react at all, others might become orange. This happens because of the iron content in the paving. As a result, the effects differ from stone to stone. Marble and limestone must never be cleaned using acid. They can be dissolved by an acid-based cleaner, which is why the products should be avoided altogether.
It is paramount you always carry out a test on a small, concealed area of paving and inspect the results before proceeding to clean the entire surface.
5. Seasonal maintenance
When establishing a schedule for cleaning and maintaining your garden pavement, you should take into consideration its surroundings. It might be convenient to synchronize your maintenance routine with seasonal changes. This will ensure your pavement looks great and retains its properties for longer.
Spring
It’s a good idea to thoroughly clean the garden paving just as spring settles in, after long winter months. The amount and degree of growth or dirt you will find depends entirely on your surroundings.
Spring is also an excellent time to check the paving surface and make sure the joints are intact. Sand joints might need refilling after winter, especially if the area hasn’t been tended to in the previous month.
Summer
As the weather improves, your garden paving is bound to become more trafficked. Regular checks are essential and simple to carry out due to favourable weather. Any issues that might occur during summer months should be addressed as soon as possible. For instances, spillages must be tackled with immediately. This minimizes the risk of staining and eliminates the need to use harsher chemicals later on.
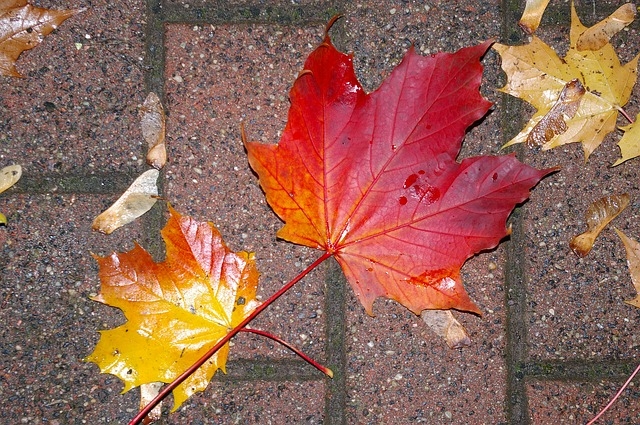
Autumn
During autumn months, leaves and shrubbery will make their way on your garden paving. Removing them on a regular basis will keep the area looking neat and clean, preventing staining.
Your garden paving might also experience staining because of fruit or berries that can fall off trees during autumnal months. To minimize the risk of permanently staining the pavement, remove the fruit or berries as soon as you see them.
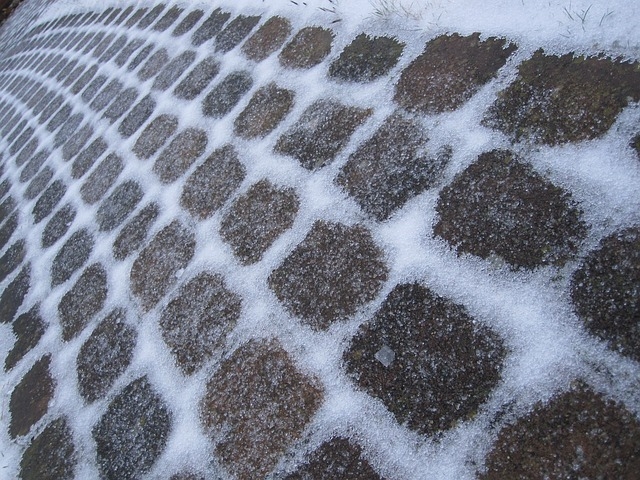
Winter
During winter, your garden will be used less and less. However, the paved area shouldn’t be neglected, as it still needs occasional maintenance, especially if there is snow or ice. The paving can easily become slippery and thus risky. Removing the deposits will ensure you don’t accidentally slip and fall and it will keep the paving from being damaged by the freezing temperature.
The most common technique for de-icing is to use rock salt. This is safe to use for the vast majority of concrete types as well as for natural stone since it can’t damage it. However, it’s worth bearing in mind that once the salt has done its job and thawed slippery patches, you might notice a white residue or discoloration. This happens because of the salt material. The issue will resolve itself and you don’t need to intervene with any other products or chemicals.
III. Stains
Regardless of how careful you are with your paving surface, accidents are bound to happen. Spills and stains are common but they cn be dealt with appropriately. Always take into consideration the type of paving you have before applying or using any kind of product.
1. Oil
Fuel or lubricating oil especially can easily penetrate hard surfacing materials. However, it should not leave any stains behind as long as the spillage or leak is quickly dealt with using a cloth, paper towels or even absorbing granules such as talcum powder or cat litter.
When you first notice the oil spillage, you should refrain from wiping the stain, otherwise you will only spread the liquid wider and drive it deeper.
If you’re dealing with a stubborn stain, you can use an emulsifying degreaser. Start by brushing the product onto the stained surface and leave it on for a period of time, following the manufacturer’s guidelines. The last step is washing the oil with a lot of clean water.
If you don’t have an emulsifying cleaner on hand, you can substitute it with hot water and detergent. However, you should be certain the detergent can’t deteriorate the paving, so you might have to test its strength out on a small patch before applying it to wider areas.
Persistent oil stains can be cleaned with steam cleaning. If this method fails too, you might have to replace the stained surface of your garden paving.
2. Rust
Rust stains are among the most difficult ones to remove. Since a vast majority of dyes employed to colour concrete are based on iron oxides, almost all chemical cleaners might impact the rust stain you’re trying to eliminate and the dye in your paving.
The first step in dealing with rust stains is to remove the source. It is generally very easy to pinpoint the culprit since the brownish red colour of rust is very distinct. However, not only steel and iron will give your garden paving rusty stains. Some moss and weed killers comprise Ferrous sulphate and can easily stain your paving when they are being applied to the lawn.
There are a few handy household solutions that can remove rust stains. As always, make sure to test these remedies out on smaller areas before proceeding.
- Lemon juice – you can squeeze lemon juice straight on the rust stain. Let it sit for about 5 minutes then scrub the stain using a bristle brush. Wash off the cleaned surface with plenty of water. You can repeat the process if the stain persists.
- Vinegar – white or clear vinegar is another effective home remedy for rust stains. To use vinegar, follow the same instructions listed above for lemon juice.
3. Drinks
Whether it’s a beer, wine or soft drink stain, it can be managed by scrubbing the affected surface with hot water and detergent. If the stain doesn’t go away, you can use a gentle bleach cleaner such as Sodium Perborate. Rinse the surface with plenty of clean water and dispose of it safely.
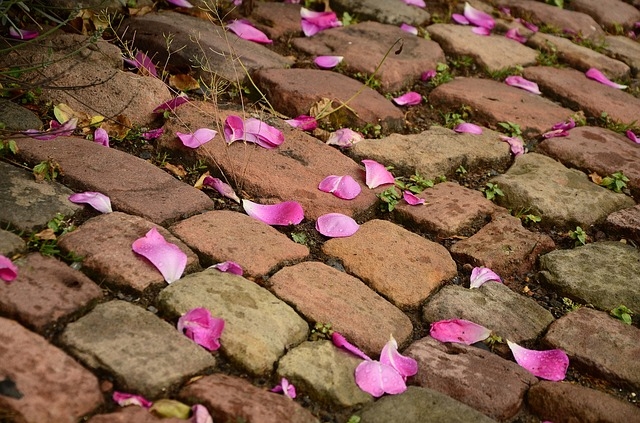
4. Fruit & Leaves
Soft fruit, leaves and berries will make their way onto your paving surface during autumn months. If they’re not removed immediately and they have time to dry, they can leave difficult to remove stains behind.
You can create a cleaning concoction by mixing together two household liquids: Sodium Hypochlorite and a mild, non-oxidising shampoo. You can acquire the former from swimming pool maintenance providers. Mix 4.5 litres of water with 1.5 litres of Sodium Hypochlorite and 100 ml of shampoo. Apply the mixture using a pump spray over the entire surface, not just on individual spots.
Start by wetting the area with water and then spray the mixture fluid on the surface. Scrub the area with a bristle brush and allow the cleaner to sit for 15 minutes. You can then wash the entire surface with water. It’s important to ensure the residue doesn’t come in contact with any vegetation in your garden. You can repeat this process if necessary. Stubborn stains can also be cleaned with a laundry pre-wash detergent such as Oxi Clean.
If you choose to use Sodium Hypochlorite, bear in mind that this is an extremely corrosive and irritant product that can burn your skin. You should always handle it carefully and wear appropriate clothing, goggles and gloves. The fluid can also kill vegetation and plants and must be kept away from pets and children.
5. Chewing Gum
Removing chewing gum from any hard surface is particularly hard and frustrating. If you are dealing with a soft chewing gum, you can use a mechanical scraper to scrape it off your paving.
Unfortunately, hardened gum can only be eliminated either by freezing it and scraping it off the area or by using a steam cleaner.
6. Paint & Ink
If you have to remove graffiti, paint or ink from paving, you should act as soon as possible. The stains are hard to remove from most surfaces so time is of the essence.
Soak up wet, fresh paint using an absorbent cloth. You should be careful not to wipe the stain, as it will only spread the paint on a wider surface. Follow up with an appropriate solvent like white spirit. Then wash the surface using a de-greasing cleaning agent.
In order to remove dry paint, you have to scrape off as much as possible and then apply a suitable paint remover.
Since paint, ink and graffiti stains are particularly difficult to remove and each type of paving varies, you should consider consulting a paint manufacturer and ask for specific recommendations.
If the paving surface has been penetrated by colour, it could be removed with acid washing. However, this is a risky technique that can damage the area even more.
Since ink can have various chemical compositions, you might have to try out different solutions until you manage to fully eliminate the stain.
Fully removing graffiti traces might turn out to be impossible. In cases where this represents a real problem, you should consider treating the concrete with an anti-graffiti coating. This will seal off the surface and prevent paint and ink from penetrating the area. All subsequent graffiti can easily be removed.
7. Tyre Marks
Tyre marks on paving are quite common. It’s very easy to eliminate them from most surfaces. The most popular techniques are by using hot water and detergent or removing the marks with steam cleaning. Make sure to do a quick test on a small surface for both methods before implementing them on wider areas.
8. Tobacco & Fire
This type of stains can be eliminated by using hot water and detergent to scrub them off. If you have persistent tobacco or fire stains, you can mix together some bleach and scouring powder and apply the resulted fluid to the stains. After employing this technique, make sure to clean the paving surface with plenty of water. Since bleach can damage vegetation, ensure you protect any lawns nearby from the run-off water.
IV. Organic Growth
Some paving areas are more prone to develop organic growth than others. For instance, shaded surfaces, lightly trafficked areas or paving under trees will grow weeds more often and faster than the rest of the paving.
With so many types of organic growth out there, it’s important to note that each will need a different removal treatment. The following list of the most common vegetation will help you identify them so you know what course of action you need to take.
1. Algae
Algae will thrive on many types of sandstones and limestone. This greenish film deposit floats around with ease while spores find damp surface where they can settle and start developing. These colonies of simple plants might spread effortlessly but the good news is that it’s easy to eliminate them.
This type of growth will appear in recessed joints. Most household bleaches will do the job and help you kill the algae. Handle the fluid with care and bear in mind that it can kill other vegetation as well.
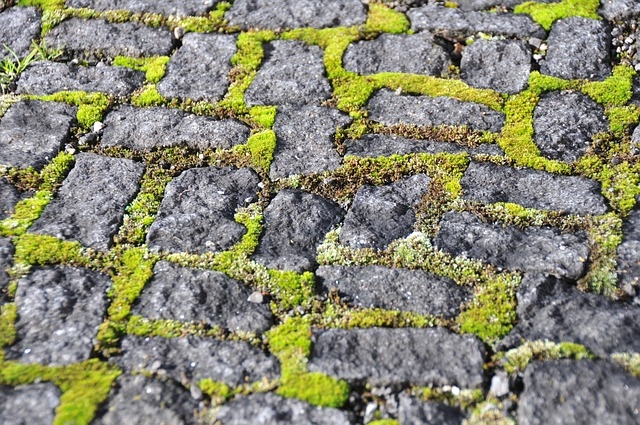
2. Moss
This organic growth varies in texture shape and colour. It can develop into green compact cushions or yellow-green matted tufts. It can be removed by scraping or sweeping since it doesn’t penetrate the paving, but rather sits on top of it.
If you want to use a more aggressive method than scraping, you should choose a chemical product that won’t cause discoloration or damage your paving. You may also use bleach to deter moss to grow back again. However, the best preventative method is keep the joints free of detritus by brushing regularly and hosing down the area.
3. Lichen
Common on timber and paving, lichen can be scurfy or leafy depending on the species. They appear when paving maintenance is neglected for a long period of time. The circular spots can easily be mistaken for stains.
Dealing with lichen can be difficult and time-consuming. While you could use bleach to kill the growth, repeating this technique time and time again will damage or discolour the surface. Lichens can alter the paving surface and remove the minerals which make up its pigmentation. To avoid this, use less bleach on every application and repeat the process more often (several times a week).