How to Lay a Garden Path
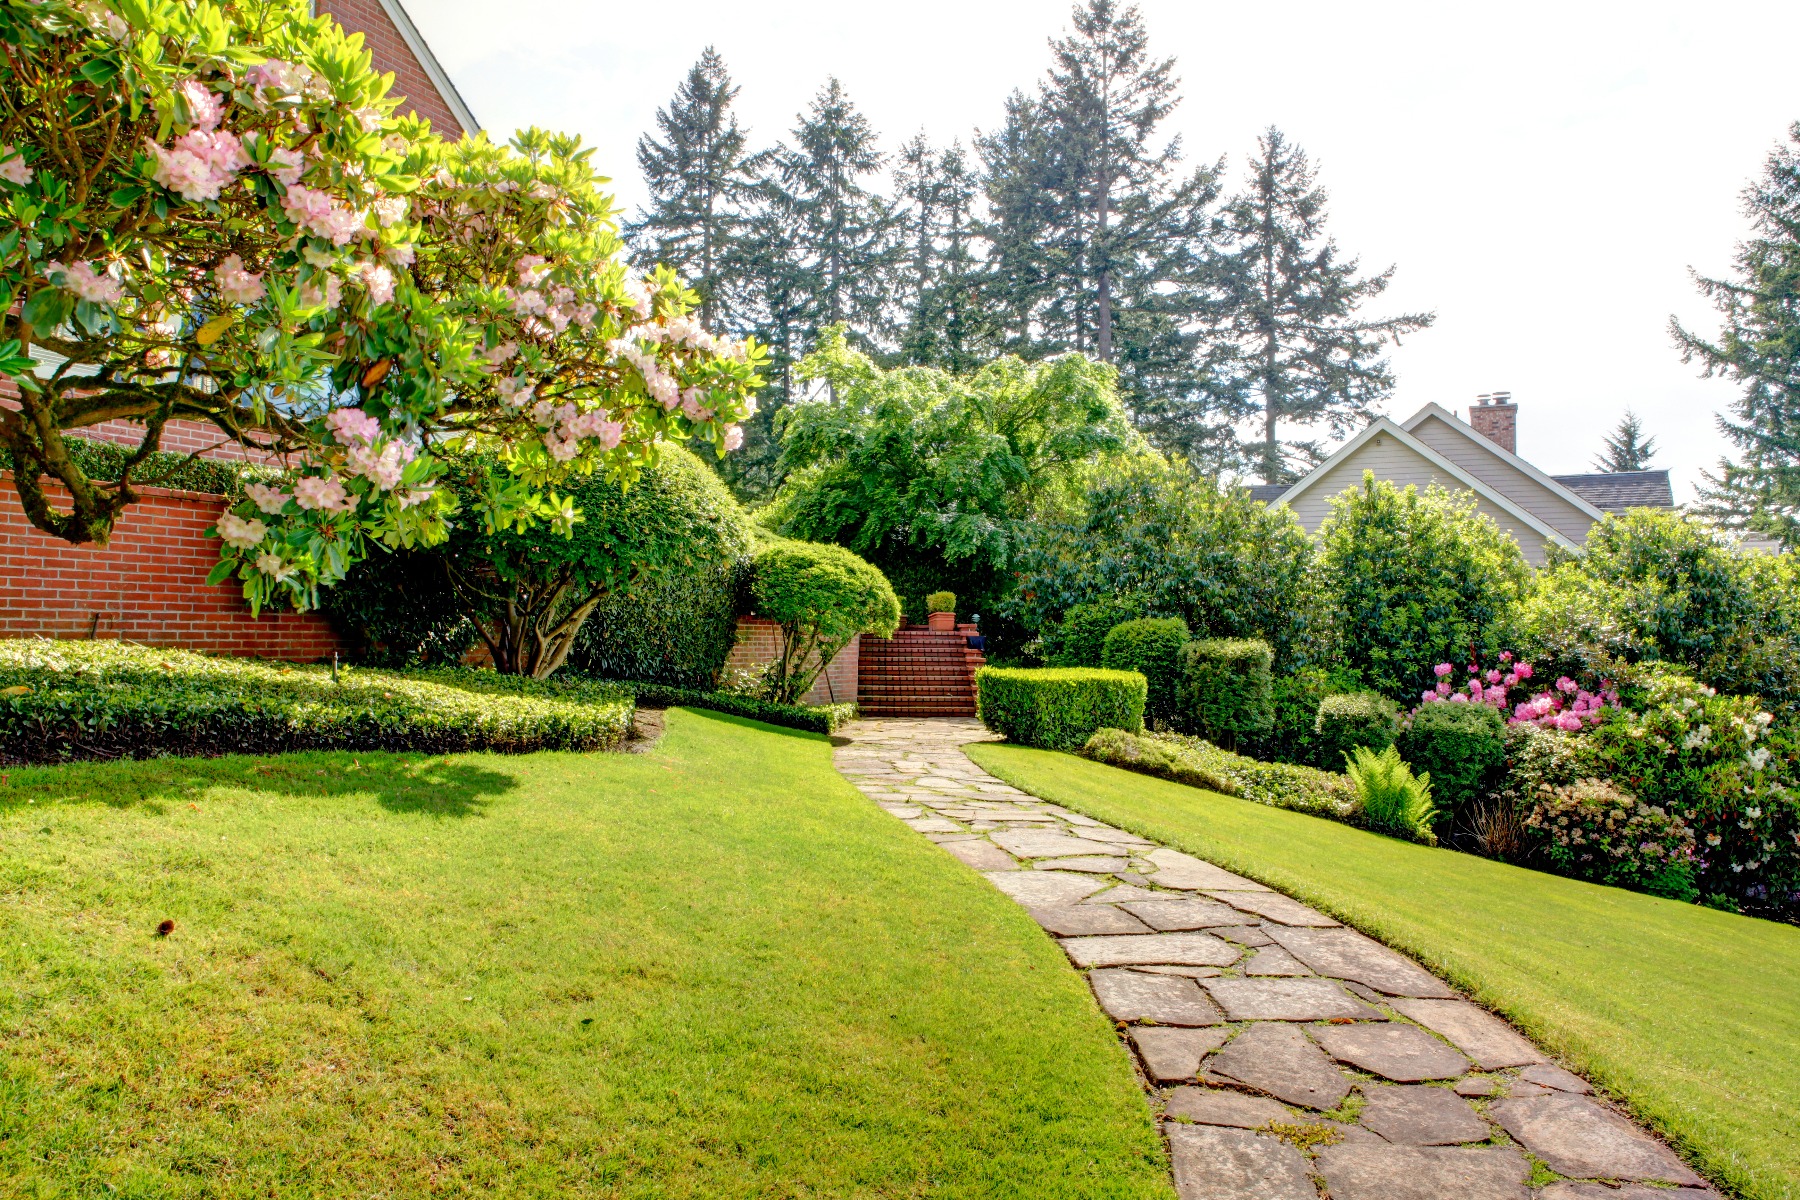 A garden path is a great feature to add to your home or garden, providing safe and easy access to your home whilst protecting your shoes from mud.
A garden pathway that’s been properly laid can even increase the value of your home. Creating your own pathway will allow you to define different areas of your garden and create contrast between flower beds and lawns.
There are several steps you must take to ensure that your garden path is as strong as it can be, so it stays tidy and lasts longer. This guide will look at how to create a pathway from the two most popular materials, gravel and paving stone.
**WARNING**
Before undertaking any excavation work you must ensure you know exactly where all buried services are located. Any services within the dig area need to be located by hand to ascertain their exact position and depth to ensure the proposed works are not going to interfere. Usually buried services will have warning tape buried just above them to warn you when you are getting close but this is not always the case especially with older properties. Typical services to watch out for are Water, Gas, Electricity, Drainage, Telephone and Sewerage. If you are unsure you must seek professional advice.
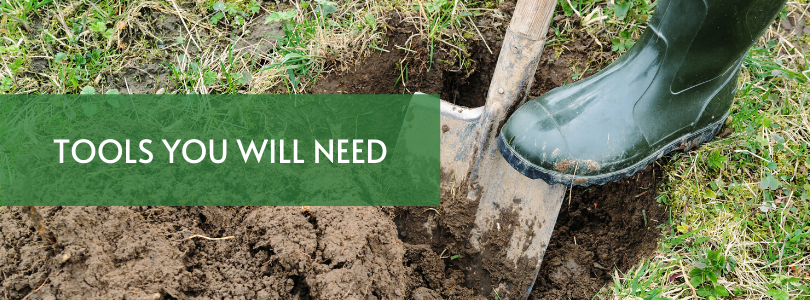
Tools You Will Need:
-
Builders Trowel
-
Shovel
-
Rake
-
Wheelbarrow
-
Rubber mallet
-
Pegs and string
-
Landscaping fabric
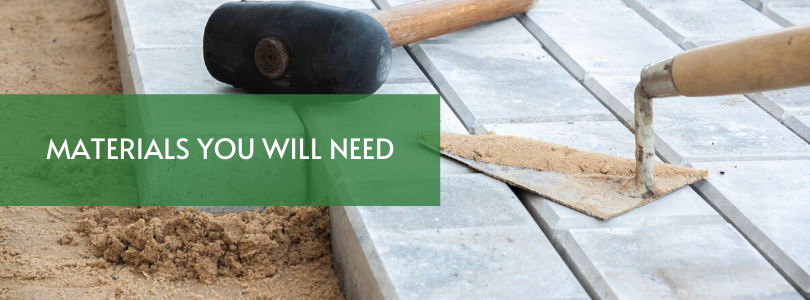
Materials You Will Need:
-
MOT Type 1 Sub-Base , MOT Type 3 Sub-Base, or Sharp Sand/Cement Mix (Sub-base choice will be dependant on finished surface and any possible local authority restrictions)
-
Gravel* or stone slabs
*If you are building a gravel pathway, some types of gravel you should consider include decorative pebbles and cobbles, decorative gravel and chipping or self binding gravel. Specific laying instructions for Self Binding Gravels can be found here.
For pathway edging:
-
Brick, stone, wood or concrete
Step One: Planning Your Pathway
The first thing to do before you start laying your pathway, is to spend some time planning the design. You want to ensure the final product is going to be practical and suit the shape and size of your garden as well as being easy to maintain. Some things you should think about when designing your pathway are the size, shape, materials, practicality, maintenance and how you want to edge your pathway.
Step Two Laying Out the Path
The first step is to layout the path and plot where it will go. The best way to layout the shape of your pathway is with pegs and string. Simply hammer pegs into the ground at regular intervals along both edges of your pathway and then tie string between each of the pegs to draw a line. If you don’t have these materials to hand, a garden hose or road marking spray can also be used to draw the path outline. Try to make the outline as accurate as possible and make adjustments to the design as you see fit. If you’re going to be adding an edging to your pathway, remember to account for this when marking the width of the final path. There are no hard fast rules for the width a pathway should be, but, as a rule of thumb, allow 1200mm finished width for 2 people to pass comfortably.
Step Three: Dig Your Pathway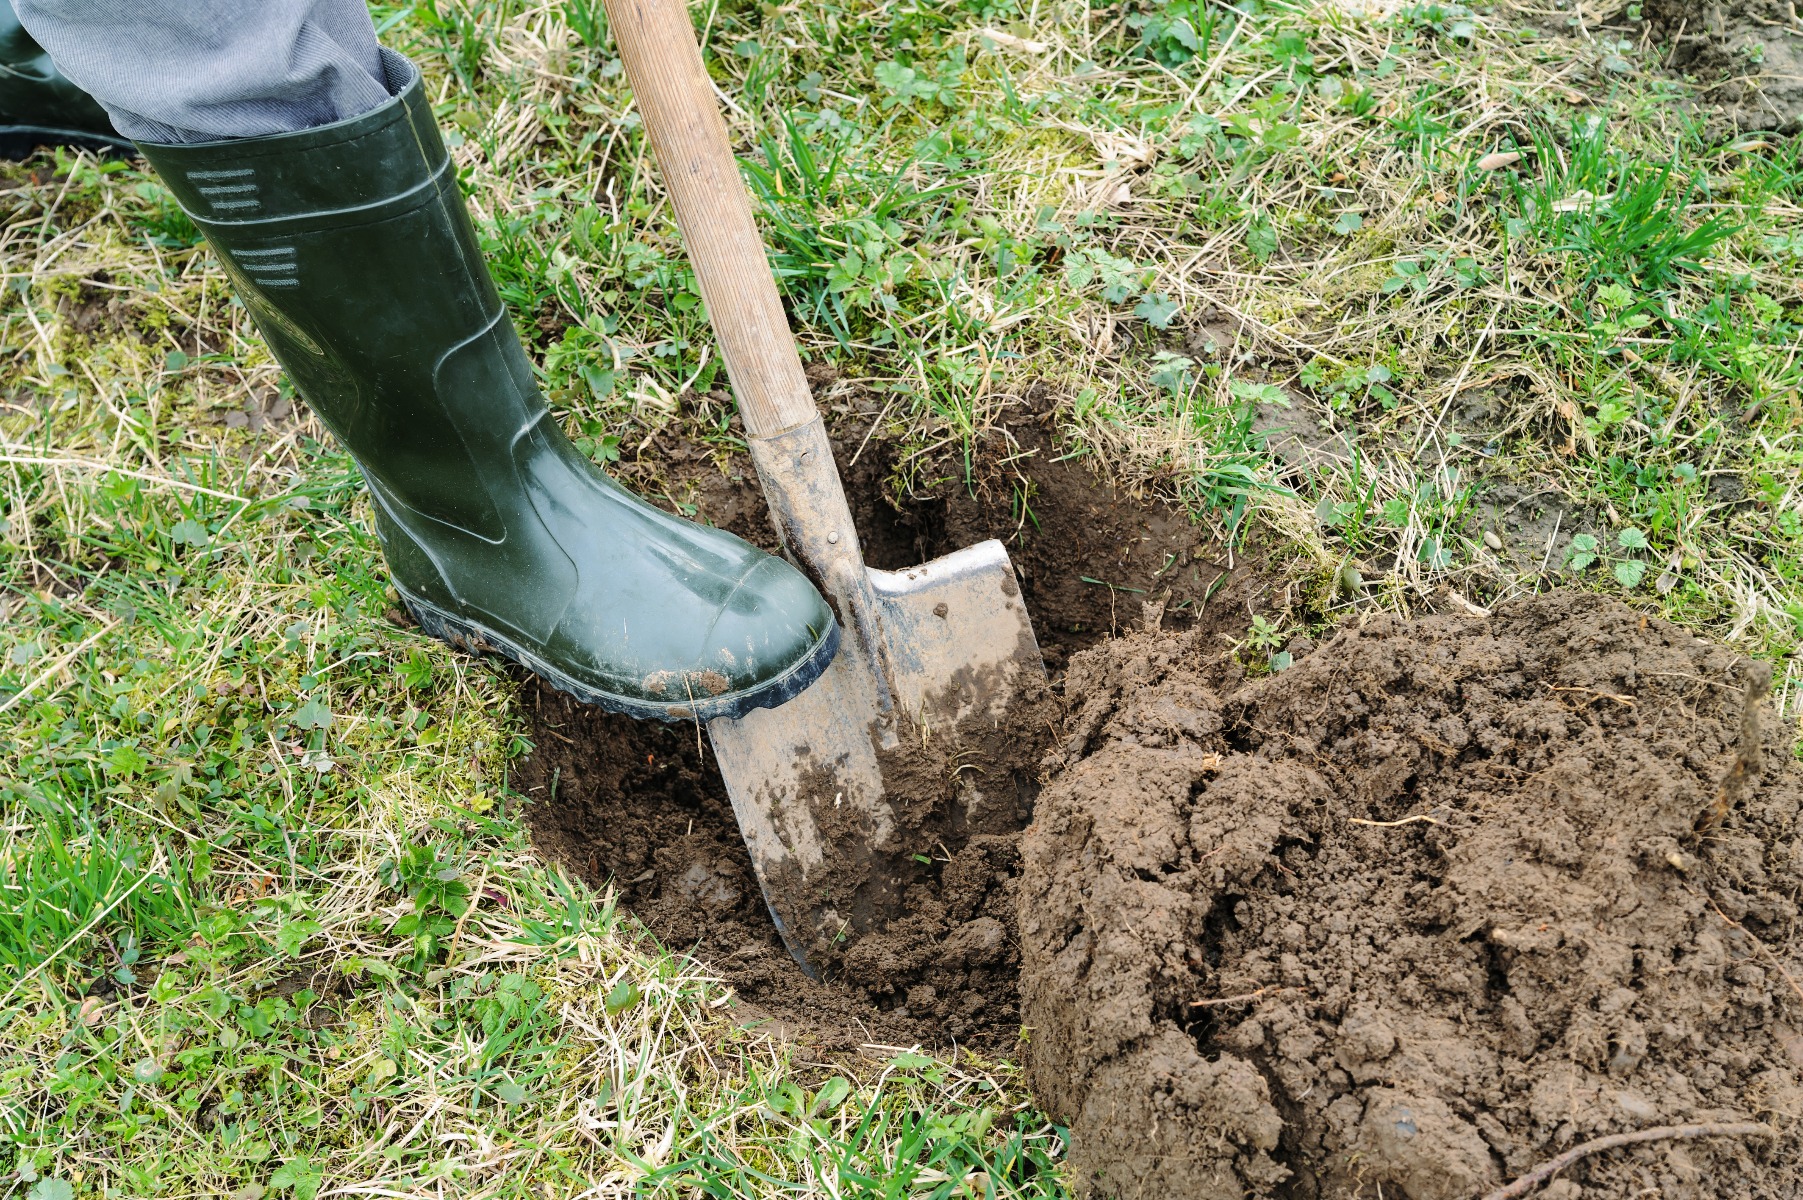
Now that you have the outline of your pathway, you’re going to want to dig in between the area that you’ve outlined with string. The depth that you will want to dig depends on the materials you’ll be building your pathway with and also the underlying ground conditions. A gravel pathway will need to be dug to a depth of around 125mm (5 inches) to allow for a minimum 75mm of sub base and 30-40mm of finished surface.
A path built of paving slabs will need to be dug a little deeper to a depth of 150mm plus the depth of the paving slab itself. We tend to go deeper with the sub-base for paths with a slab finish to ensure the slabs don’t crack. Dig the pathway using a shovel and measuring tape. Any soft spots should be excavated and filled with compacted sub base material. It is not advisable to build on topsoil and thus if you have excavated are still seeing topsoil, this will need removing and replacing with compacted sub-base material.
Step Four: Set the Edging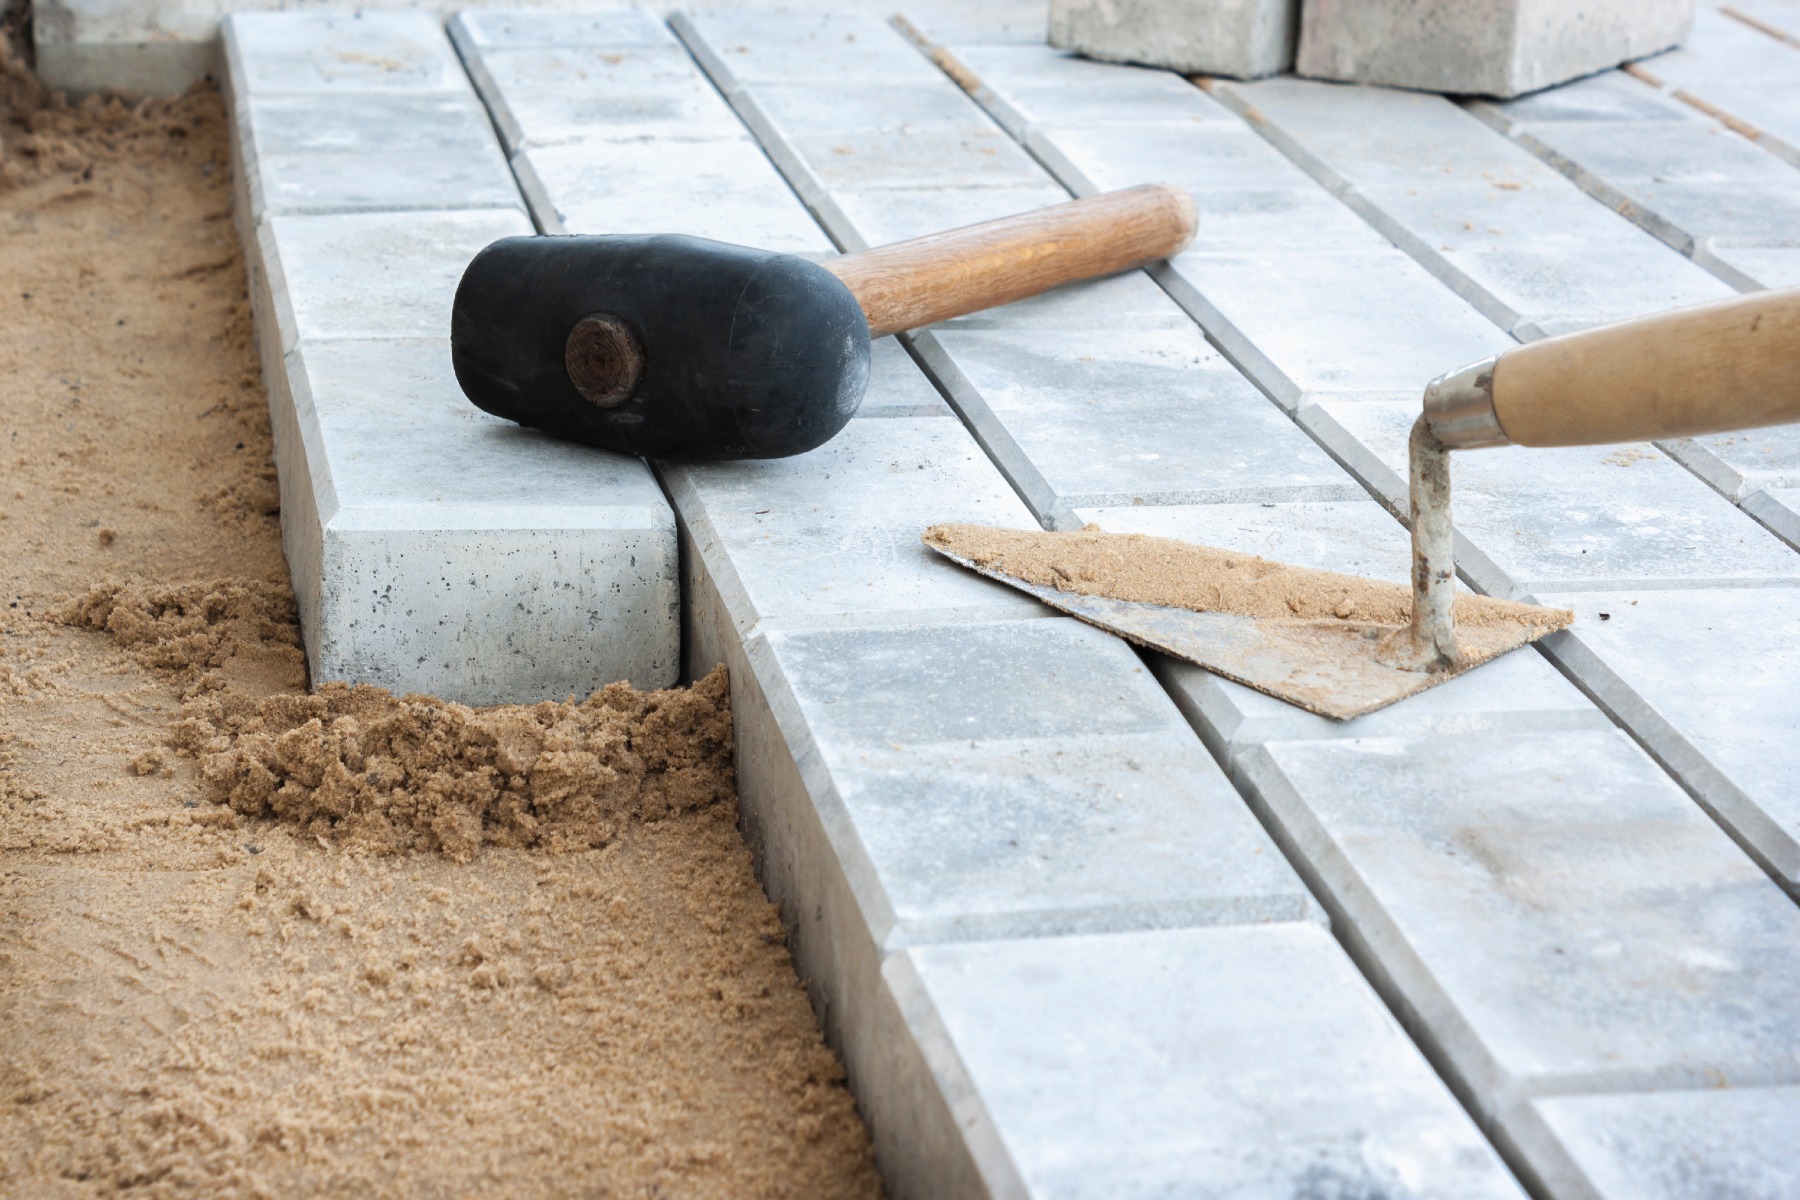
Now that your pathway has been dug, it’s time to set the edging in place. The edging will keep your pathway secure, edging your pathway isn’t essential, but can be beneficial to keep your pathway material in place. This is especially useful if you’re building a gravel pathway, which can be prone to lateral movement and scattering.
How you set your edging will depend on the material you’re using. For a wooden edging, secure the pieces of wood to the pegs you used to mark the design at the start of the process with nails. Make sure the pegs are hammered securely into the ground at intervals of no more than 1200mm apart. Lay timber into position and starting at one end, fix the edging to the pegs using exterior grade screws.
If you’re opting for a brick edging, you will need to spread a layer of concrete mix along the length of your pathway border. Sit the bricks on the mortar and set with a rubber mallet.
Step Five: Laying the Landscape Fabric
Now it’s time to line the base of the pathway with G90 Membrane. This will help control weeds and prevent them from causing damage to your pathway. Membranes also prevent the sub-base from mixing with the underlying subsoil which can cause issues down the line. Cut your landscaping fabric to the length of your pathway and lay along the space.
Step Six: Laying Sub-Base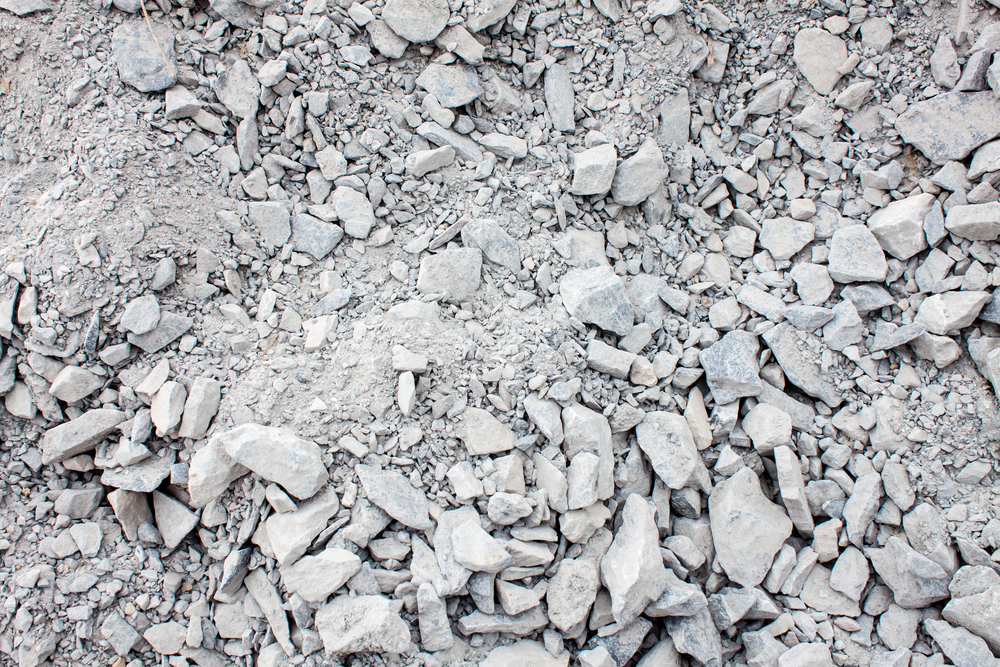
Now that you’ve laid the landscaping fabric, it’s time to lay the sub-base. This step is essential for load-bearing and also aids drainage, which will increase the durability and lifespan of your final path. For the sub-base, we’d recommend using MOT Type 1, or MOT Type 3.
Add the sub-base material in 25-50mm layers compacting each layer with a whacker plate until the desired thickness is achieved. Any low spots that appear after compaction can be topped up and compacted as required. It is essential that Type 3 be used for Self Binding Gravel pathways as the product is reliant on drainage to stay compact. Type 1 can be used for paths using gravel or chippings and slabs.
Step Seven: Laying Path Material
Now you’ve laid the sub-base, you’re ready to lay your chosen pathway material over the top. If you’re creating a gravel pathway, add the gravel to a depth of 30-40mm and rake until it's even. Make sure to leave a gap of 10-20mm to the top of the edging to prevent the gravel from scattering.
If you’re laying a paving slab pathway then the process is slightly different. After laying 100mm of sub-base you need to lay a 50mm layer of Sharp Sand/Cement mix ready for bedding the slabs.
Now, it’s time to lay your paving stone on top. Lay your paving stones one at a time and bed with a rubber mallet. Ideally, you should leave a 10mm gap between each one and then leave to set until dry. Once they’re dry, fill in the gaps with a jointing compound or mortar.
IMPORTANT NOTICE – DOES NOT APPLY TO LOOSE DELIVERIES
- Orders are delivered by an 18t rigid vehicle with a tail-lift and manual pump trolley.
- A level tarmac, concrete, or block-paved area is required for unloading; the trolley cannot operate on grass, gravel, or slopes.
- The lorry (10m L x 2.8m W x 4m H) does not have a HIAB crane and cannot lift over fences/hedges or deposit bags on grass or gravel.
- Customers must ensure access roads and the unloading site are suitable for the vehicle. Inform us immediately of any access issues at 01234 831108
- Delivery guarantees kerbside only, though drivers will try to place orders in the required area.
- HIAB crane delivery is available for orders of 10+ bags/pallets at extra cost.