How To Lay Self Binding Gravel

At Mainland Aggregates, we offer a wide range of gravel in various sizes and colours. This includes our best-selling gravel such as the old english self-binding gravel and Cotswold self-binding gravel. Self-binding gravel has become a popular choice for low-maintenance and attractive driveways and garden paths. Unlike traditional loose gravel, self-binding gravel is compacted tightly and binds together to form a solid surface that is less likely to shift or become uneven. Here are the steps to follow to lay self-binding gravel:
1. Prepare the area: First, you need to prepare the area where you will be laying the self-binding gravel. This involves removing any existing surface material, such as grass or old gravel, and levelling the ground. You should also ensure that the area is well-drained, as water can cause the self-binding gravel to break down over time.
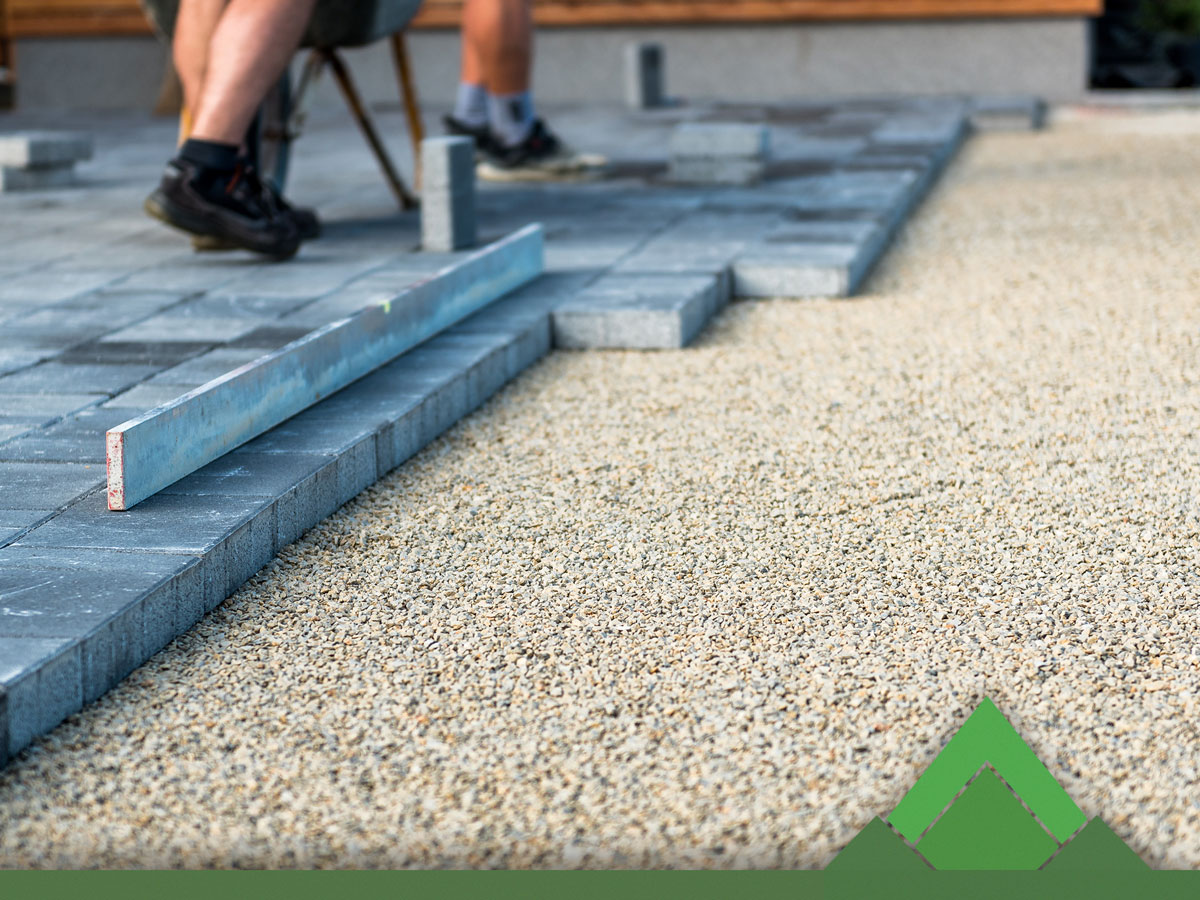
2. Lay a sub-base: Once the area is prepared, you should lay a sub-base of crushed stone or hardcore. The sub-base used must be type 3, or a free draining equivalent. This will provide a stable base for the self-binding gravel and prevent it from sinking or becoming uneven. Spread the sub-base evenly over the area and compact it using a compactor or a roller.
3. Apply the self-binding gravel: Once the sub-base is in place, you can begin to apply the self-binding gravel. Self-binding gravel is made up of a mixture of different particle sizes that don’t need pre-mixing, which also does not set. You can either purchase pre-mixed self-binding gravel or mix your own using a 4:1 ratio of gravel to binding agent.
4. Spread the self-binding gravel: Spread the self-binding gravel evenly over the sub-base, ensuring that it is at least 50mm deep. Use a rake to spread the gravel and a spirit level to check that it is level. It's important to work quickly when applying the self-binding gravel, as it will start to bind together within a few minutes.
5. Compact the self-binding gravel: Once the self-binding gravel is spread evenly, you should compact it using a compactor or a roller. This will help to ensure that it is tightly packed and will form a solid surface. It's important to compact the gravel immediately after spreading it, as the compound will start to set quickly.
6. Allow the self-binding gravel to set: Using a non-tinned rake or screeded with a board, to prevent particles from spreading. After compacting the self-binding gravel, you should allow it to set for at least 24 hours. This will give the binding agent time to fully harden and bond the gravel together.
7. Maintain the self-binding gravel: Once the self-binding gravel is set, it should be relatively low-maintenance. However, it's important to keep the surface clean and free from debris, as this can prevent water from draining away and cause the gravel to break down over time. You should also avoid using salt or other de-icing chemicals on the surface, as these can damage the binding agent.
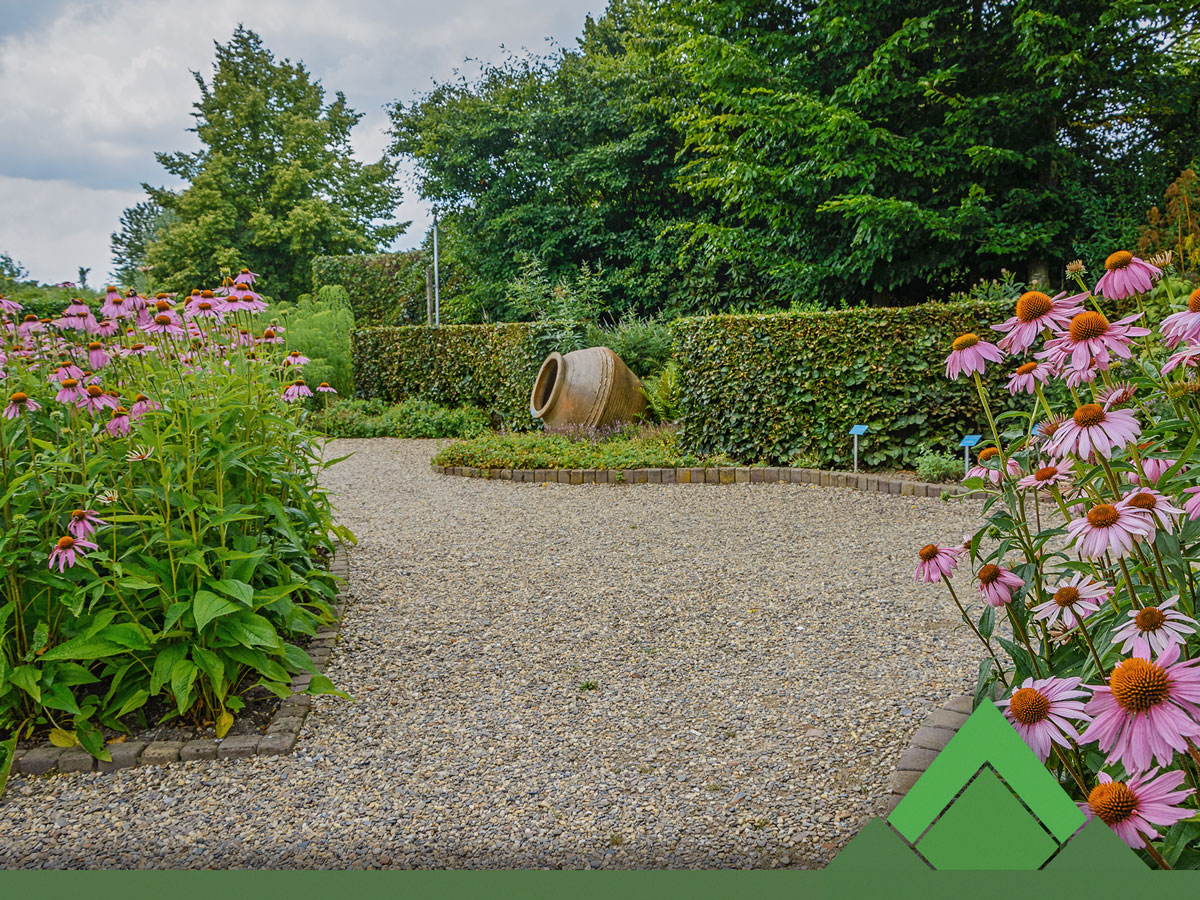
By following these steps, you can lay self-binding gravel to create a durable and attractive driveway or garden path. It's important to use high-quality materials and ensure that the area is properly prepared to ensure that the self-binding gravel will last for many years. If you need assistance or advice, contact our dedicated team at Mainland Aggregates today on 01234 831108.